With the arrival of two “Pro Micro” Arduinos from an eBay seller in Hong Kong (fast shipping, just two weeks, but one, unfortunately, is not working), work has started on the Top Gun Platinum!
My choice was to use the MMJoy2 firmware that is a really nice software. With MMJoy2 a compatible Arduino is seen as a HID device, so no drivers are needed and compatibility is assured 100% with every software. It’s a really powerful software and I really like it. Links here: MMjoy wiki (en).

Pro Micro Board
The first step (at least for me) was to re-wire the pots (potentiometers) for the two axis and the throttle. The older game port connection worked as an ohm-meter by measuring the resistance of the pots used as variable resistance. The ATMega32U4 integrated ADCs simply read a voltage value between 0 and 5 Volts, from pots, hall sensors, external sources. That means that the pots have to be connected between Ground and 5V (Power or USB +5V) with the cursor connected to one of the ADC pins.

Connecting inputs to the MMJoy2-programmed board
I decided to use wires from a CAT-5 Ethernet Cable for both the axis’ pots and the throttle’s pot.
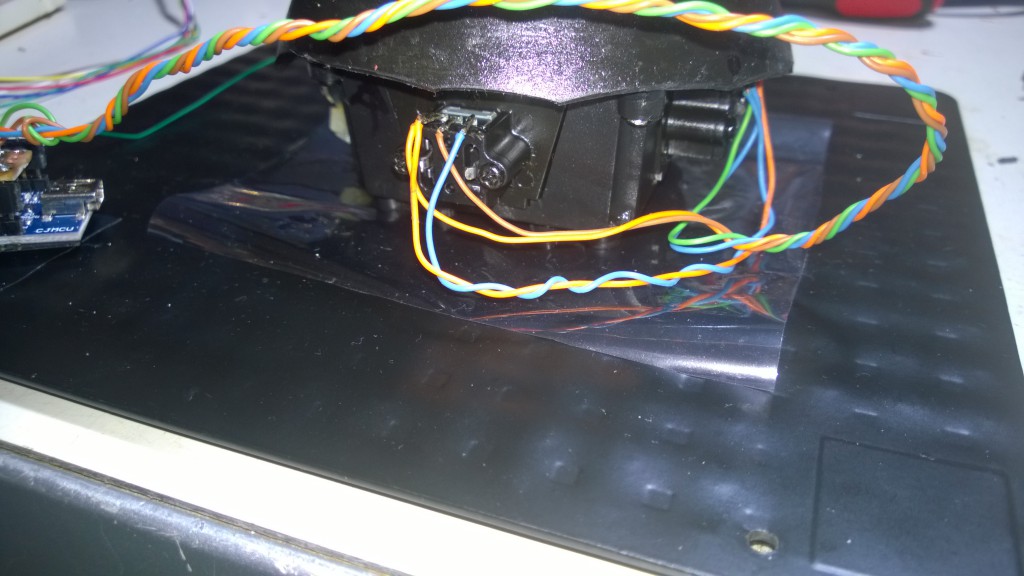
Axis’ pots rewired with wires from CAT 5 cable
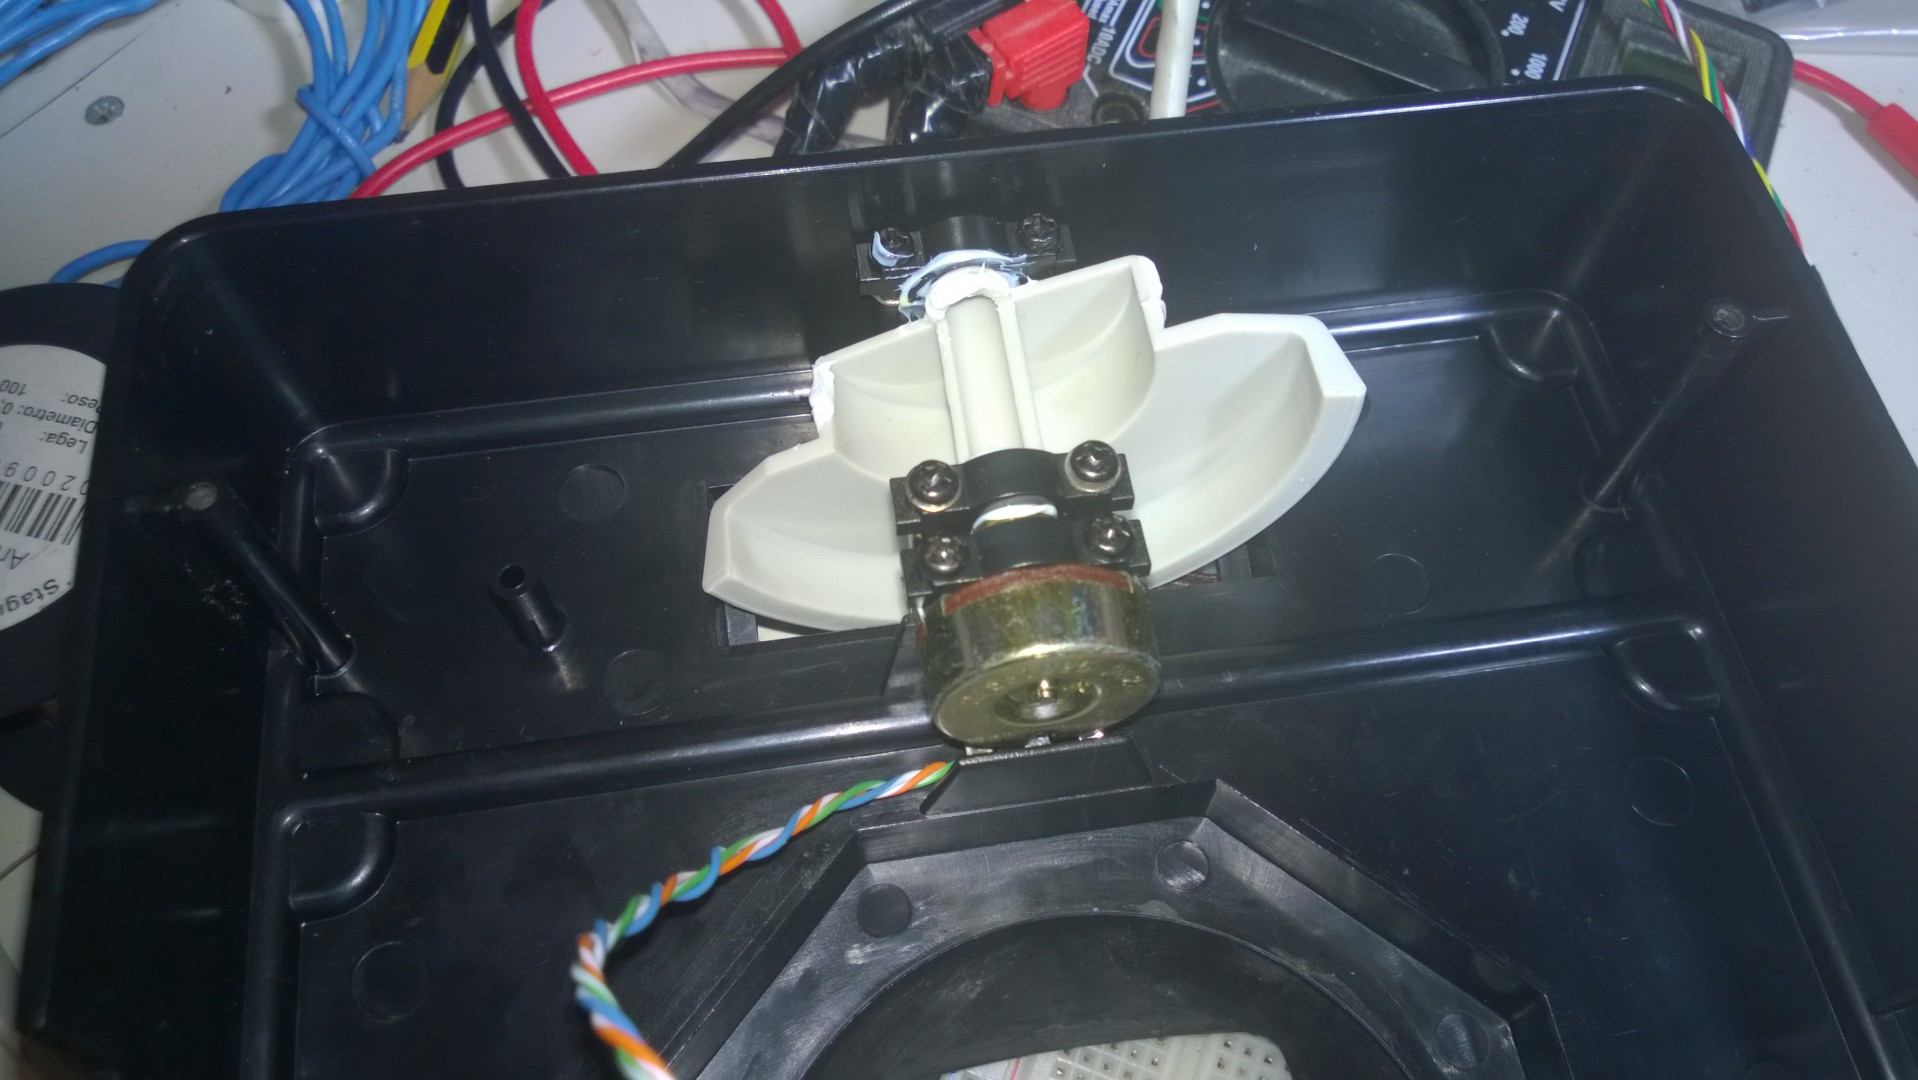
The throttle’s pot with the new wires
I also put some grease on the gimbals and on the throttle axis. I used some teflon grease that should last some years (I hope).
I then connected all the wires to a sort-of “shield” so I can easily swap the board, just in case…

Ghetto shield for axis connection
Just to make a simple test, I decided to close the base, leaving the board outside.
Board hanging outside the joystick base
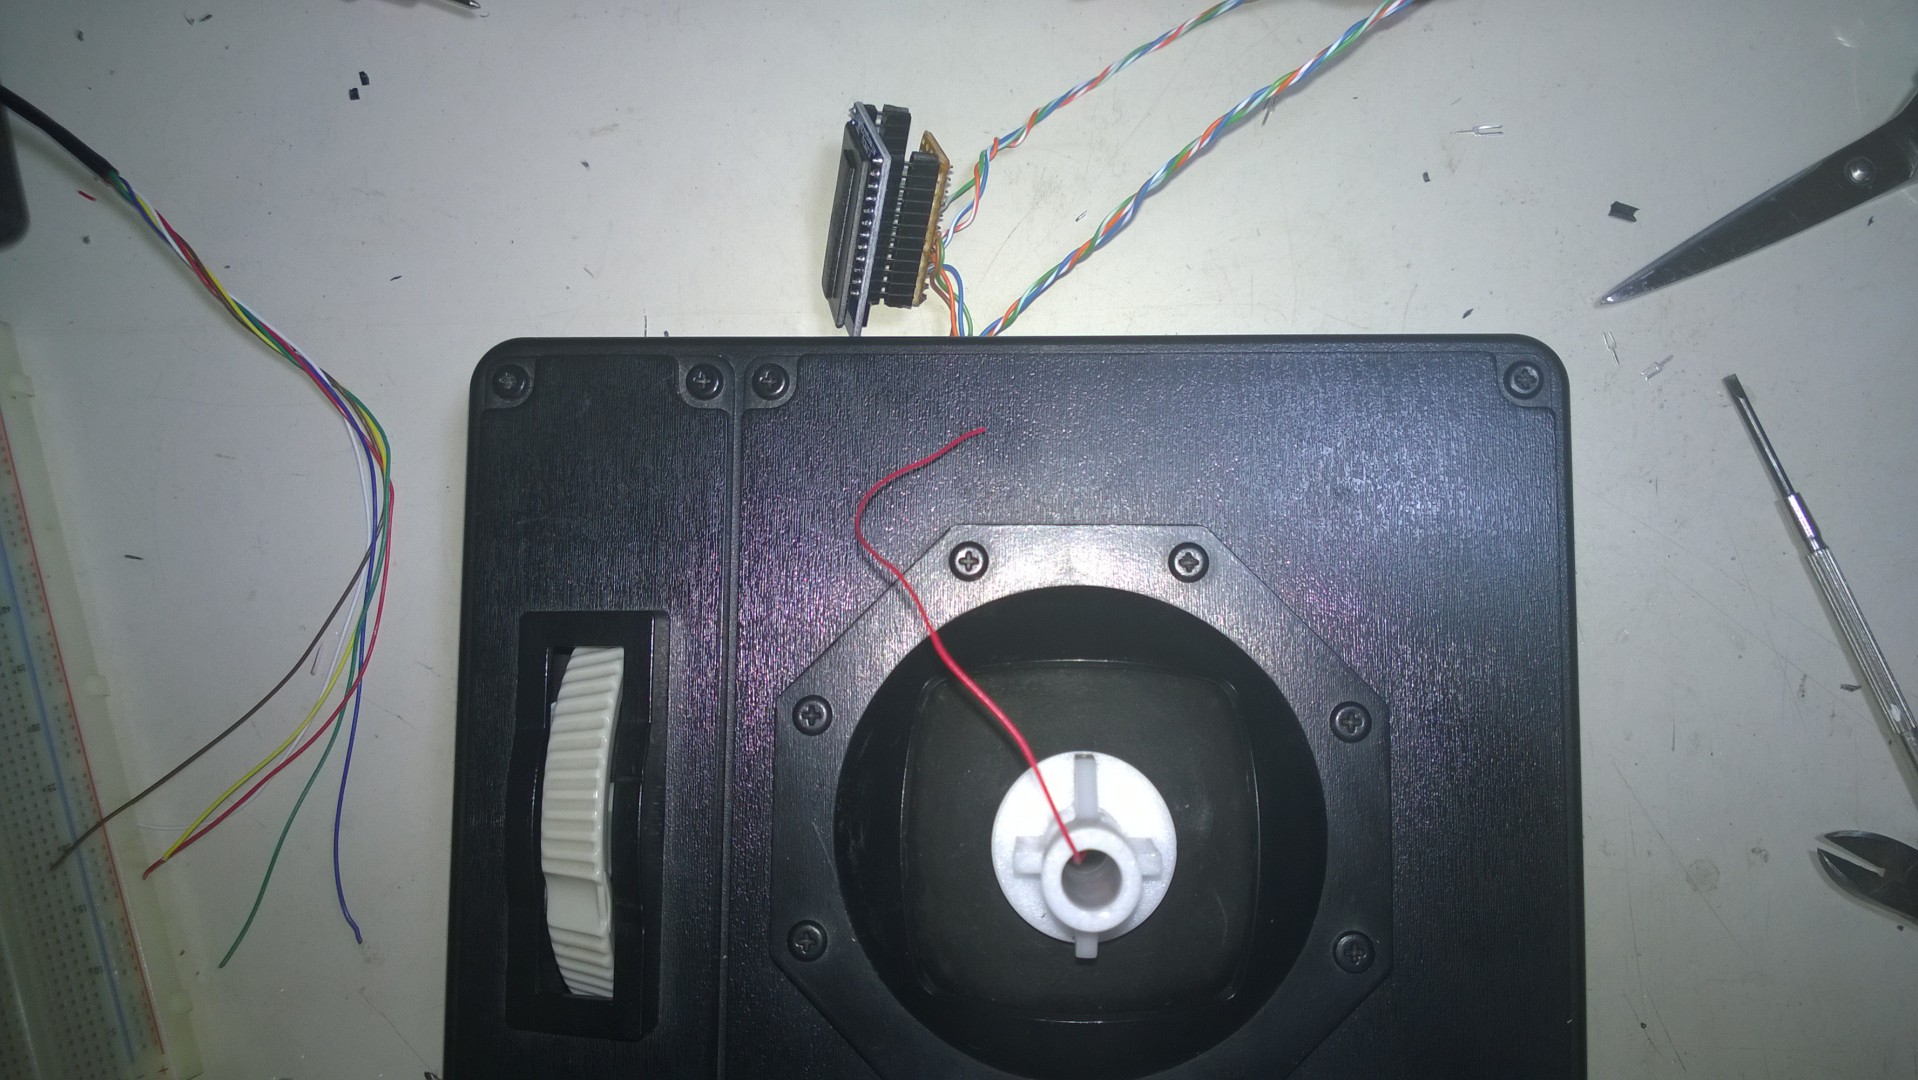
And then a final picture before connecting the base to the PC to test the pots and their connections.

The base closed before a quick test
The quick test went fine. Next part will be about connecting the grip’s buttons and China HAT (POV) switch.
Bye
Tags: DIY, Flight Controller, Thrustmaster, Top Gun Platinum
Categories: computers ,electronic ,flight simulators ,hardware ,howtos